First go to amazon web services and sign up for a lightsail web server AWS Lightsail
. The first 3 months should be free. Go for the cheapest version.
For your Instance image choose Linux, and then for Blueprint select LAMP (like shown below).

and then create. This will create a web server(computer) running Linux and it will be using the lamp stack.
The reason we are using LAMP (Linux Apache MySQL and PHP) and not, let's say WordPress, is because we are uploading our HTML/CSS code directly to the web server. Word press is a tool for people who can't code basically.
When a user goes to our website it will load this HTML as a website.
After it's created go to the AWS(Amazon Web Services) Console and click on you Lighsail Instance that you have created.
If you have just created a new Lightsail instance, then you should need to create a static IP address. A static IP address will make it so that your IP address is fixed(won't change) to your web server.
click on your IP address and create a static IP. the settings are fine as default.
Now that we have created our web server. go to the connect tab and scroll down till it says connect to {static IP address} and username.
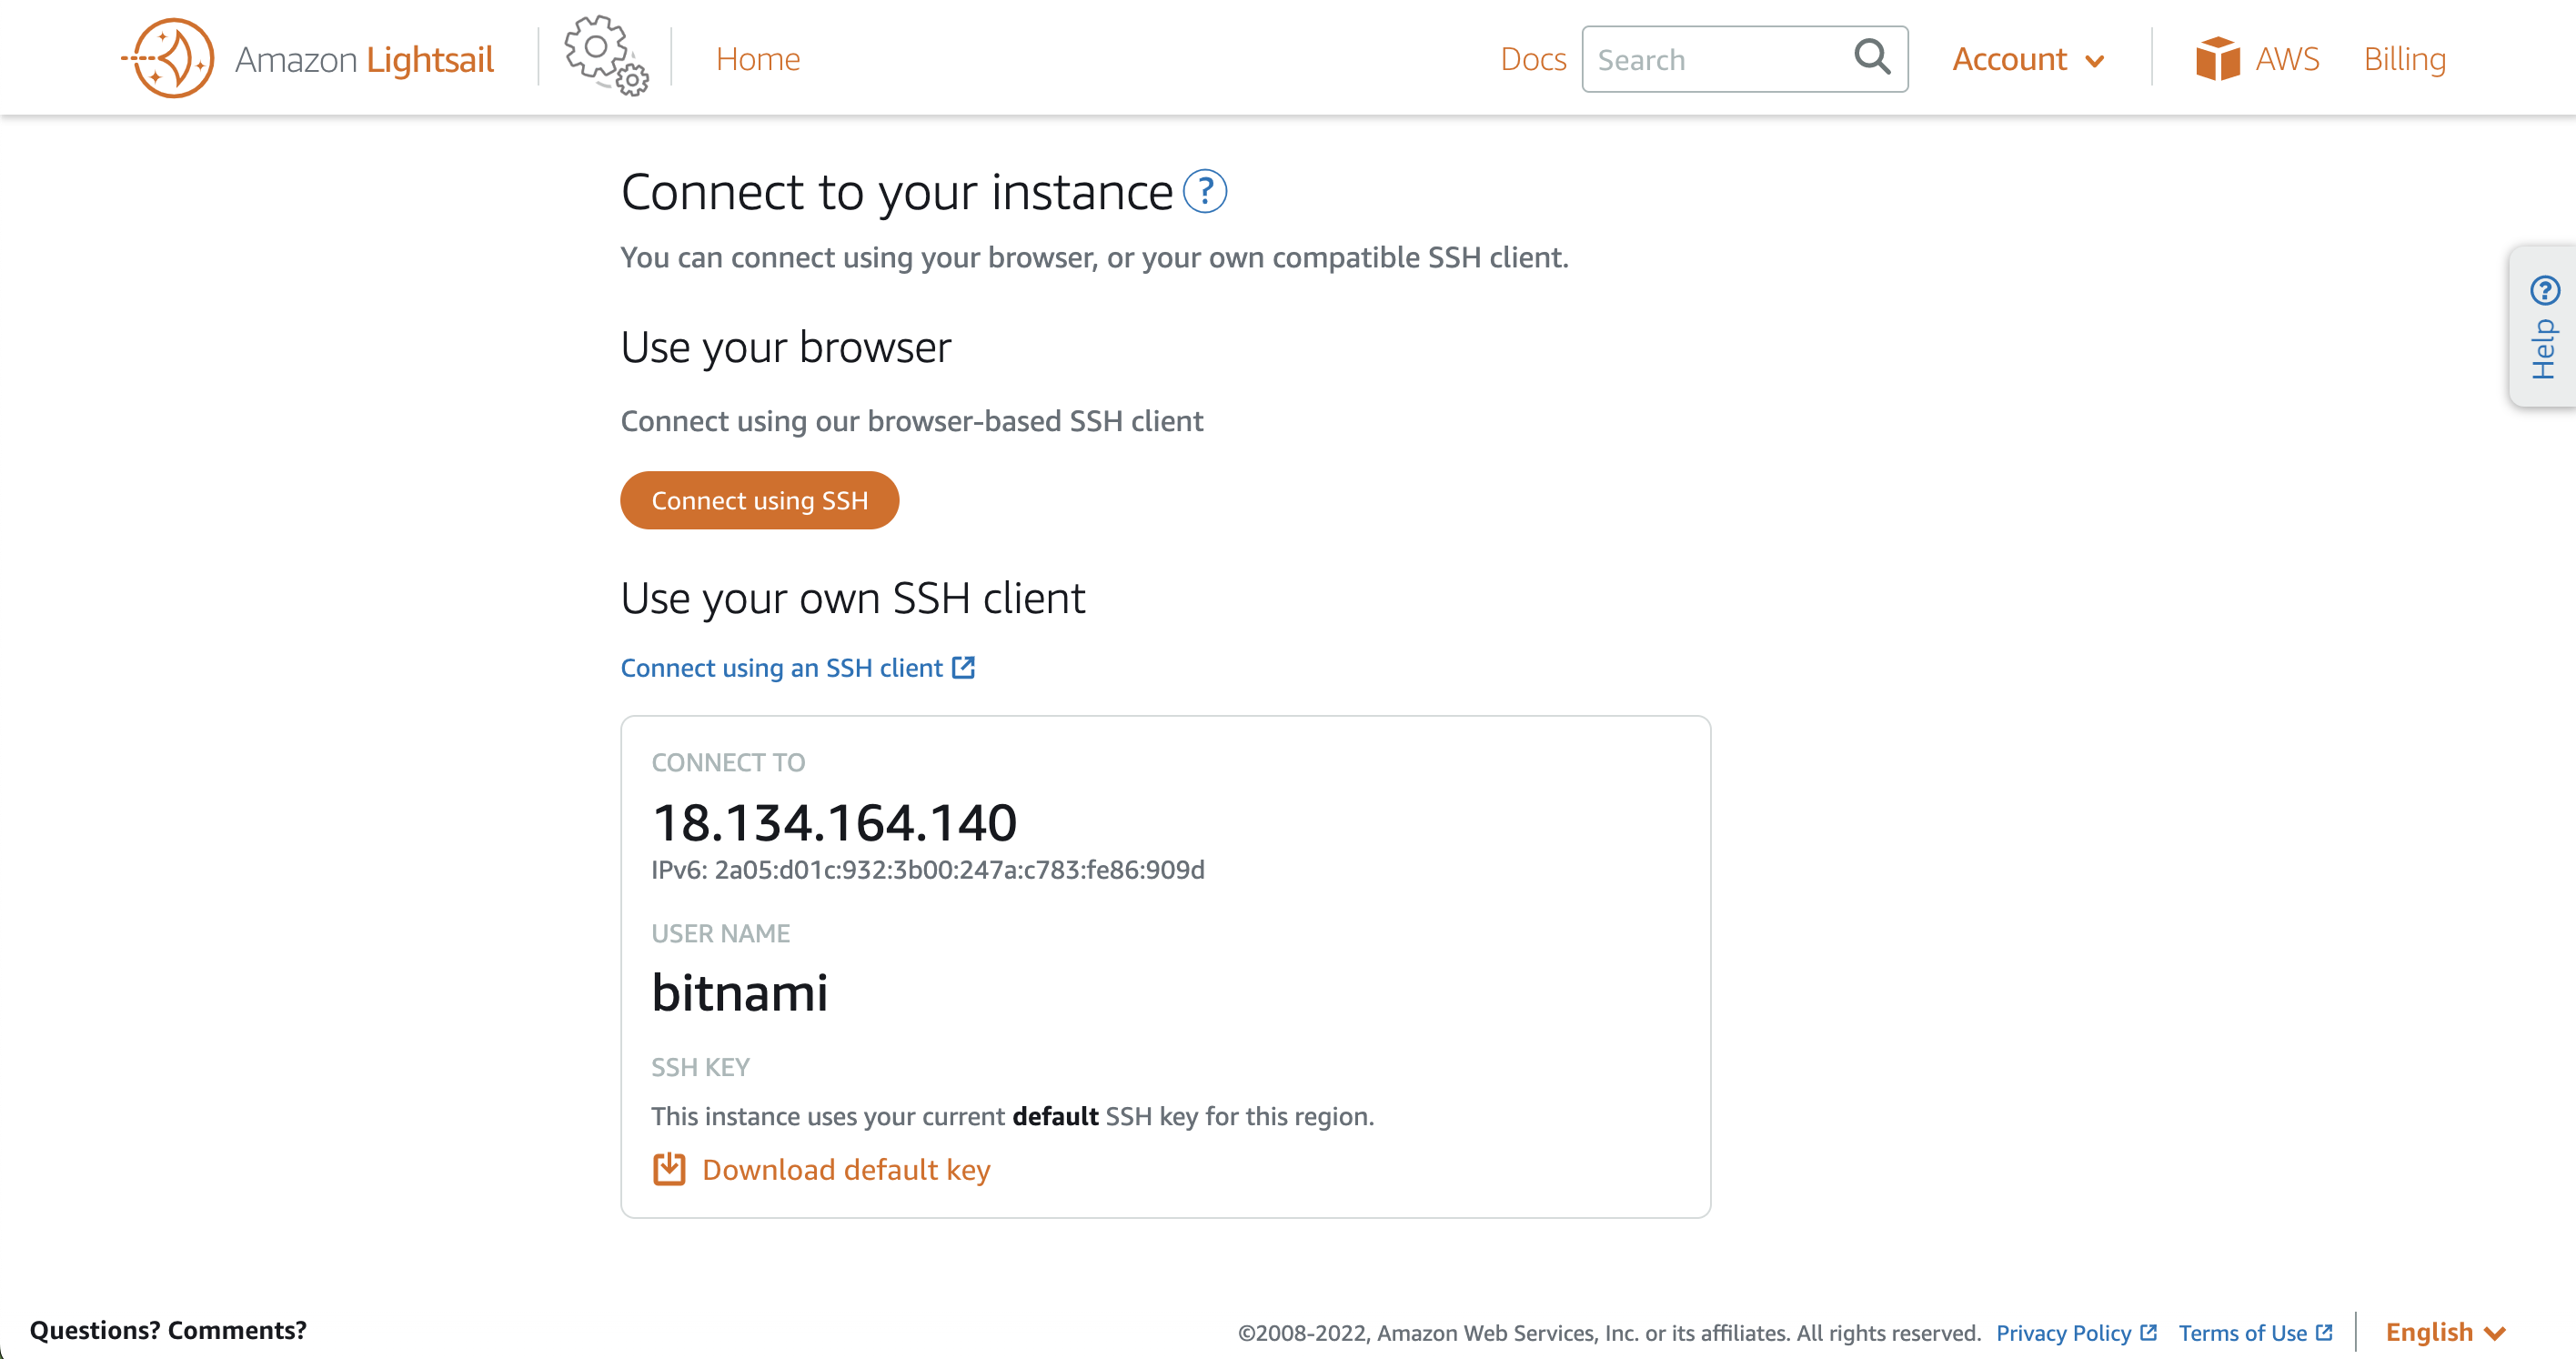
As we are computer scientists and we are using Linux as our server, we will need to use the Linux command prompt to communicate with our web server.
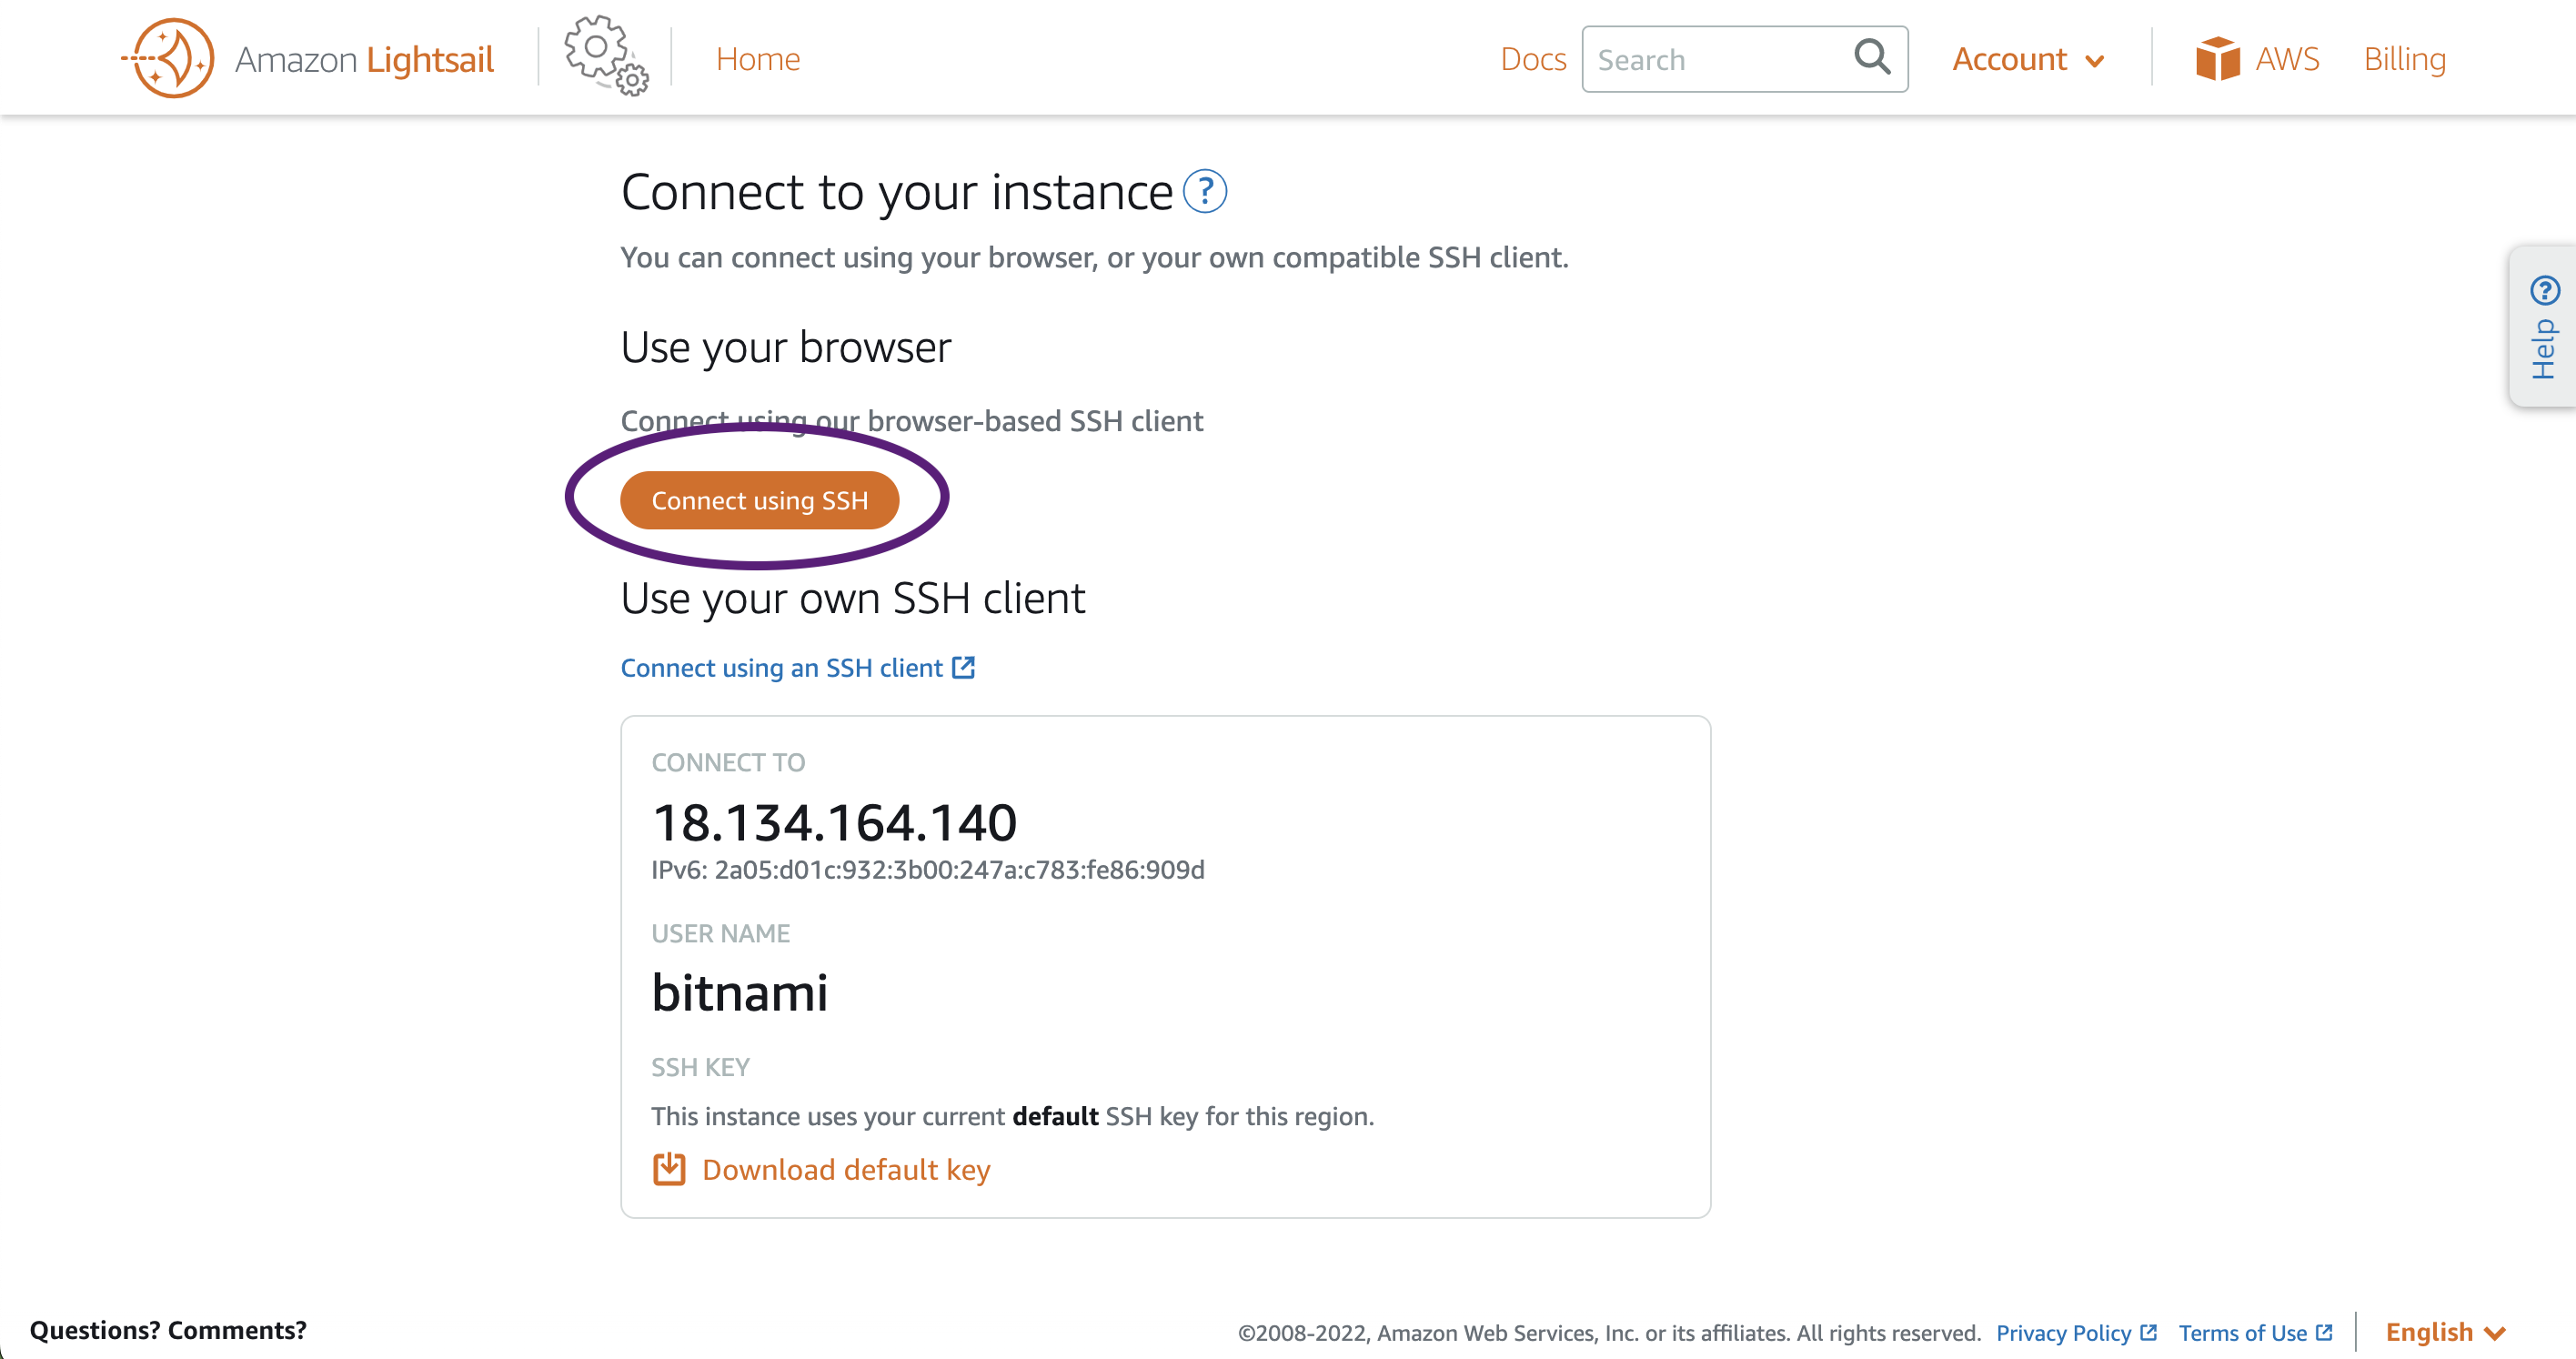
For this first time connecting to our web server, click on connect using SSH (circled in purple below). This will then load up a terminal on our web server. so we are basically connected to and have control over our web server by using commands on the command prompt.
Once you get a bit more comfortable using the Linux commands line SSH, SCP etc. then you can just connect to the Linux web server through your own computer's terminal using the SSH program.
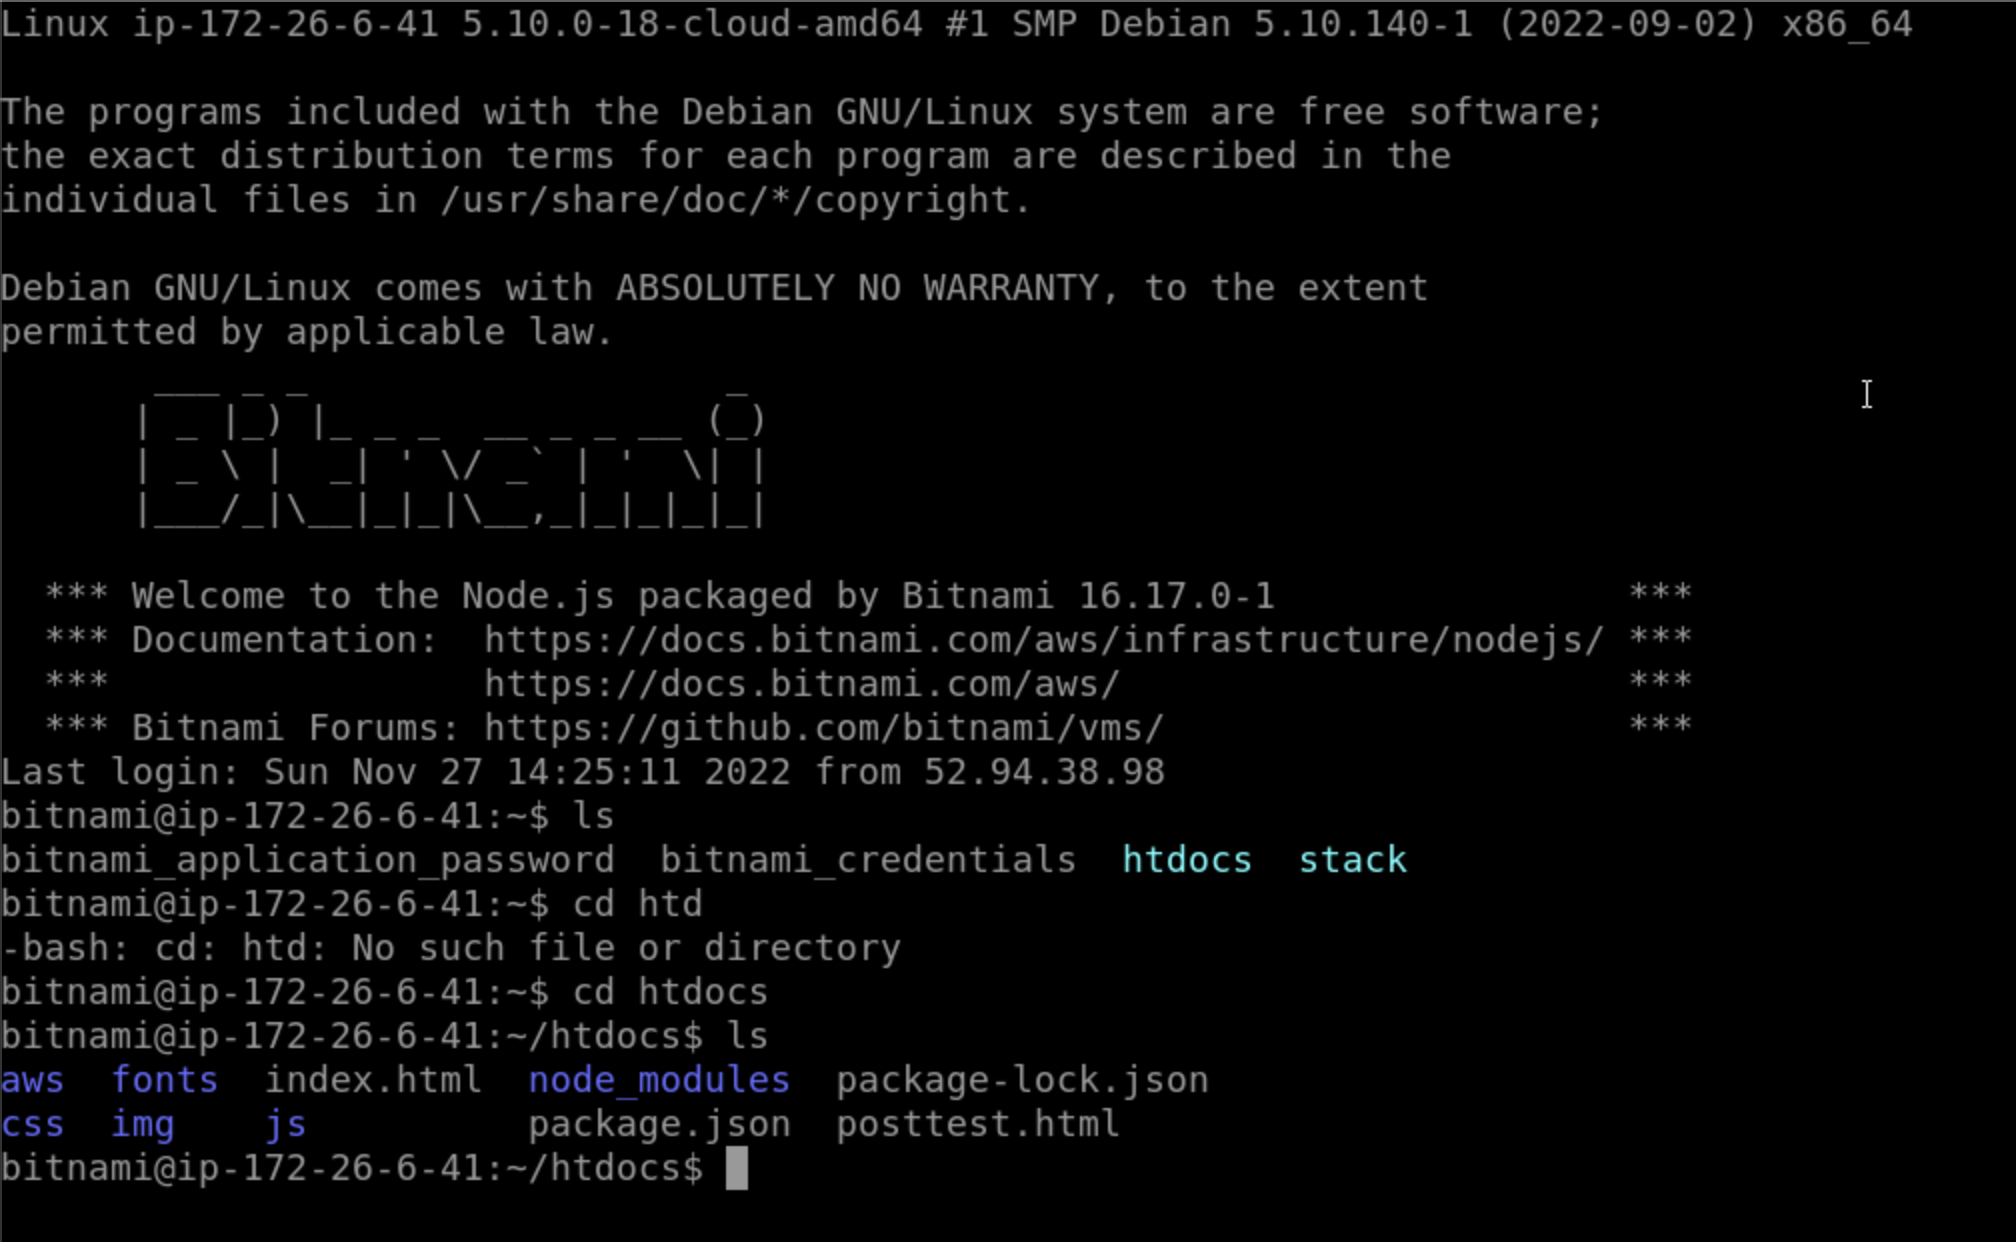
You should have a terminal window open up. It probably looks very confusing if you've never used Linux. But after a while, it's actually very simple to use.
Firstly type in this command
cd htdocs
and press Enter. This will change our directory to htdocs as that is what we told it to do.
This "htdocs" folder is the only folder that we will be using for the time being.
Our website HTML code files will be placed in this folder and when we connect to the IP address associated with the server that we created earlier (the static IP), it will take us to the index (home) page of our website.
Our home page/index page needs to be named "index.html" or "index.php". As when someone loads our website, it will automatically load up the index page./
Now that we have our web server set up hopefully. We can now cancel out of the lightsail instance terminal as we will now be using our command prompt on our computer to send our HTML files to the server.
So let's create a very basic HTML file on our computer
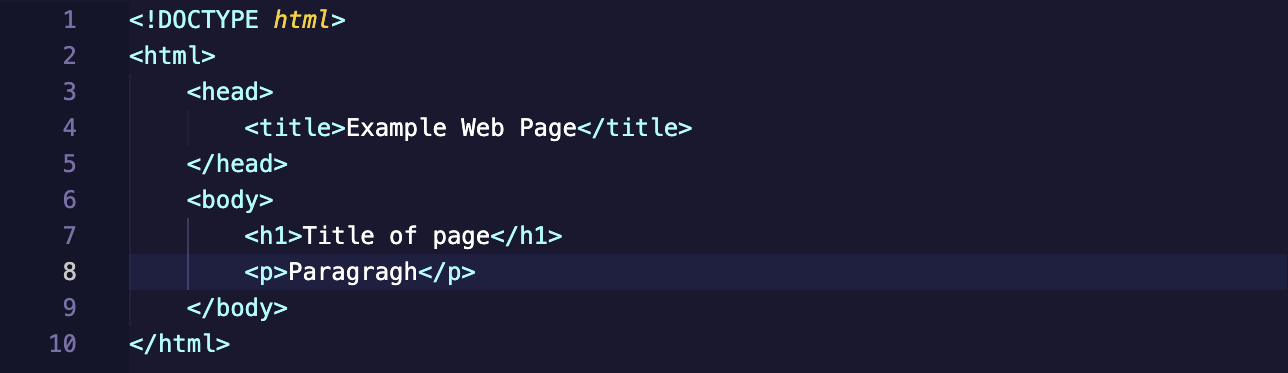
Here is a very basic HTML web page. I've saved it into the Desktop folder just because it's easier for me to find.
now we are going to send that file to our web server htdocs folder from doing 1 command on our computer.
Firstly go to our AWS console and the connect tab again like earlier. under IP address, it should say download lightsail default key.
Download that and store it with your index.html file(for easy access).
Now open up your terminal on your Mac(if you have one), if you're on Linux it should be a fairly similar process. If you're on windows, search how to connect to ssh on windows. I think Putty is the program. Or you could install a virtual machine to use Linux, see my section on Virtual Machines
make sure you have "SCP" installed by typing "SCP" and then enter
Now we need to build our command to send our web page file to the server
So the command we created is:
sudo scp -ri ~/Documents/lightsail-key/LightsailDefaultKey-eu-west-2csx.pem ~/Desktop/csx/dist/* [email protected]:~/htdocs
I will go through this command and explain what each part does.
sudo
Sudo means "super user do", which basically means it will run whichever command/program you are running as the admin user/ root user/ higher privileges on your system. Basically the same as right-clicking on a windows program and running it as administrator.
scp
scp is the program that we will be using to send files to our web server.
-i
This is a parameter for the SCP command. You can add a parameter to most commands. "-i" means that the SCP web server will be using a key pass file (Lighsail key thing we downloaded earlier) to confirm you are the owner. is basically the same as having a password for access. I guess they use a key pass file so you can automate logging in/ changing website content automatically without any human having to type a password and that.
/Desktop/lightsail-keys/LightsailDefaultKey-eu-west-2csx.pem
This part is basically telling the program where the key file is located. ~/ that basically is a shortcut for the home directory.
~/Desktop/csx/dist/*
This next bit is telling the program which file/s that we want to send. The '*' sign is saying we want to include all files in the dist folder.
[email protected]:~/htdocs
This last bit is specifying the web server and the location on the web server where we want our index.html file to be located
bitnami is the username. the IP address is the static IP that we created earlier. and the part after that is the location where we want to store our files. Like I sais before I would recommend /home/bitnami/htdocs as this is where the website contents will be run from (as discussed earlier). Make sure you don't delete the htdocs file, as if you do and create a new one with the same name it won't work.
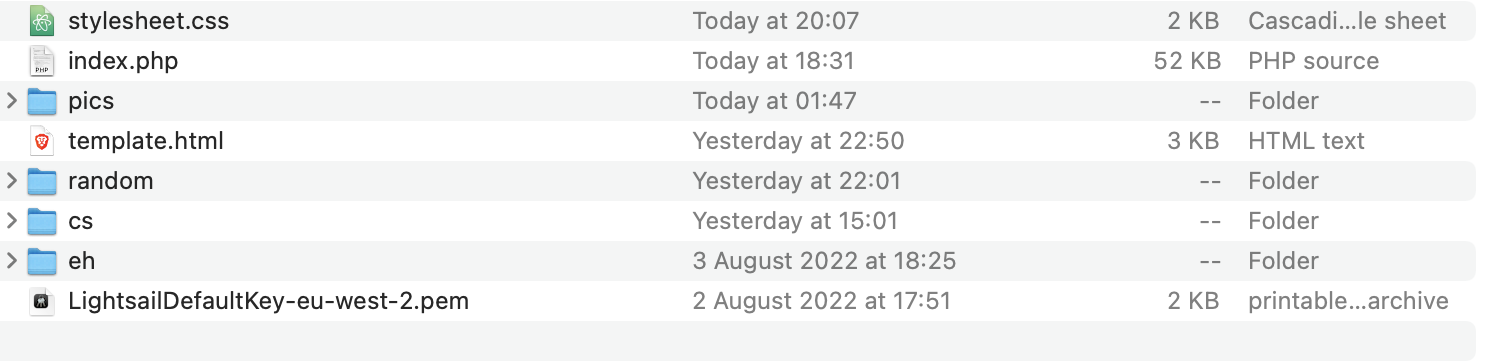
Your folder structure should look something like this. when your website gets larger, you should consider organising pictures, web pages, etc. into folders, and then direct the links to these folders. for example "/pics/linux/screenshot1.png"
If we go to our AWS console and go to our lightsail instance and connect to the terminal through our browser, we should see something like this:

As you can see we change directory (cd) into the htdocs folder, which is where our HTML/ PHP code will run automatically. our index.php or index.html file will be the homepage of our website. which means when you go to your web address associated with your domain (ComputerScienceX.com) you will automatically be taken to that index file.
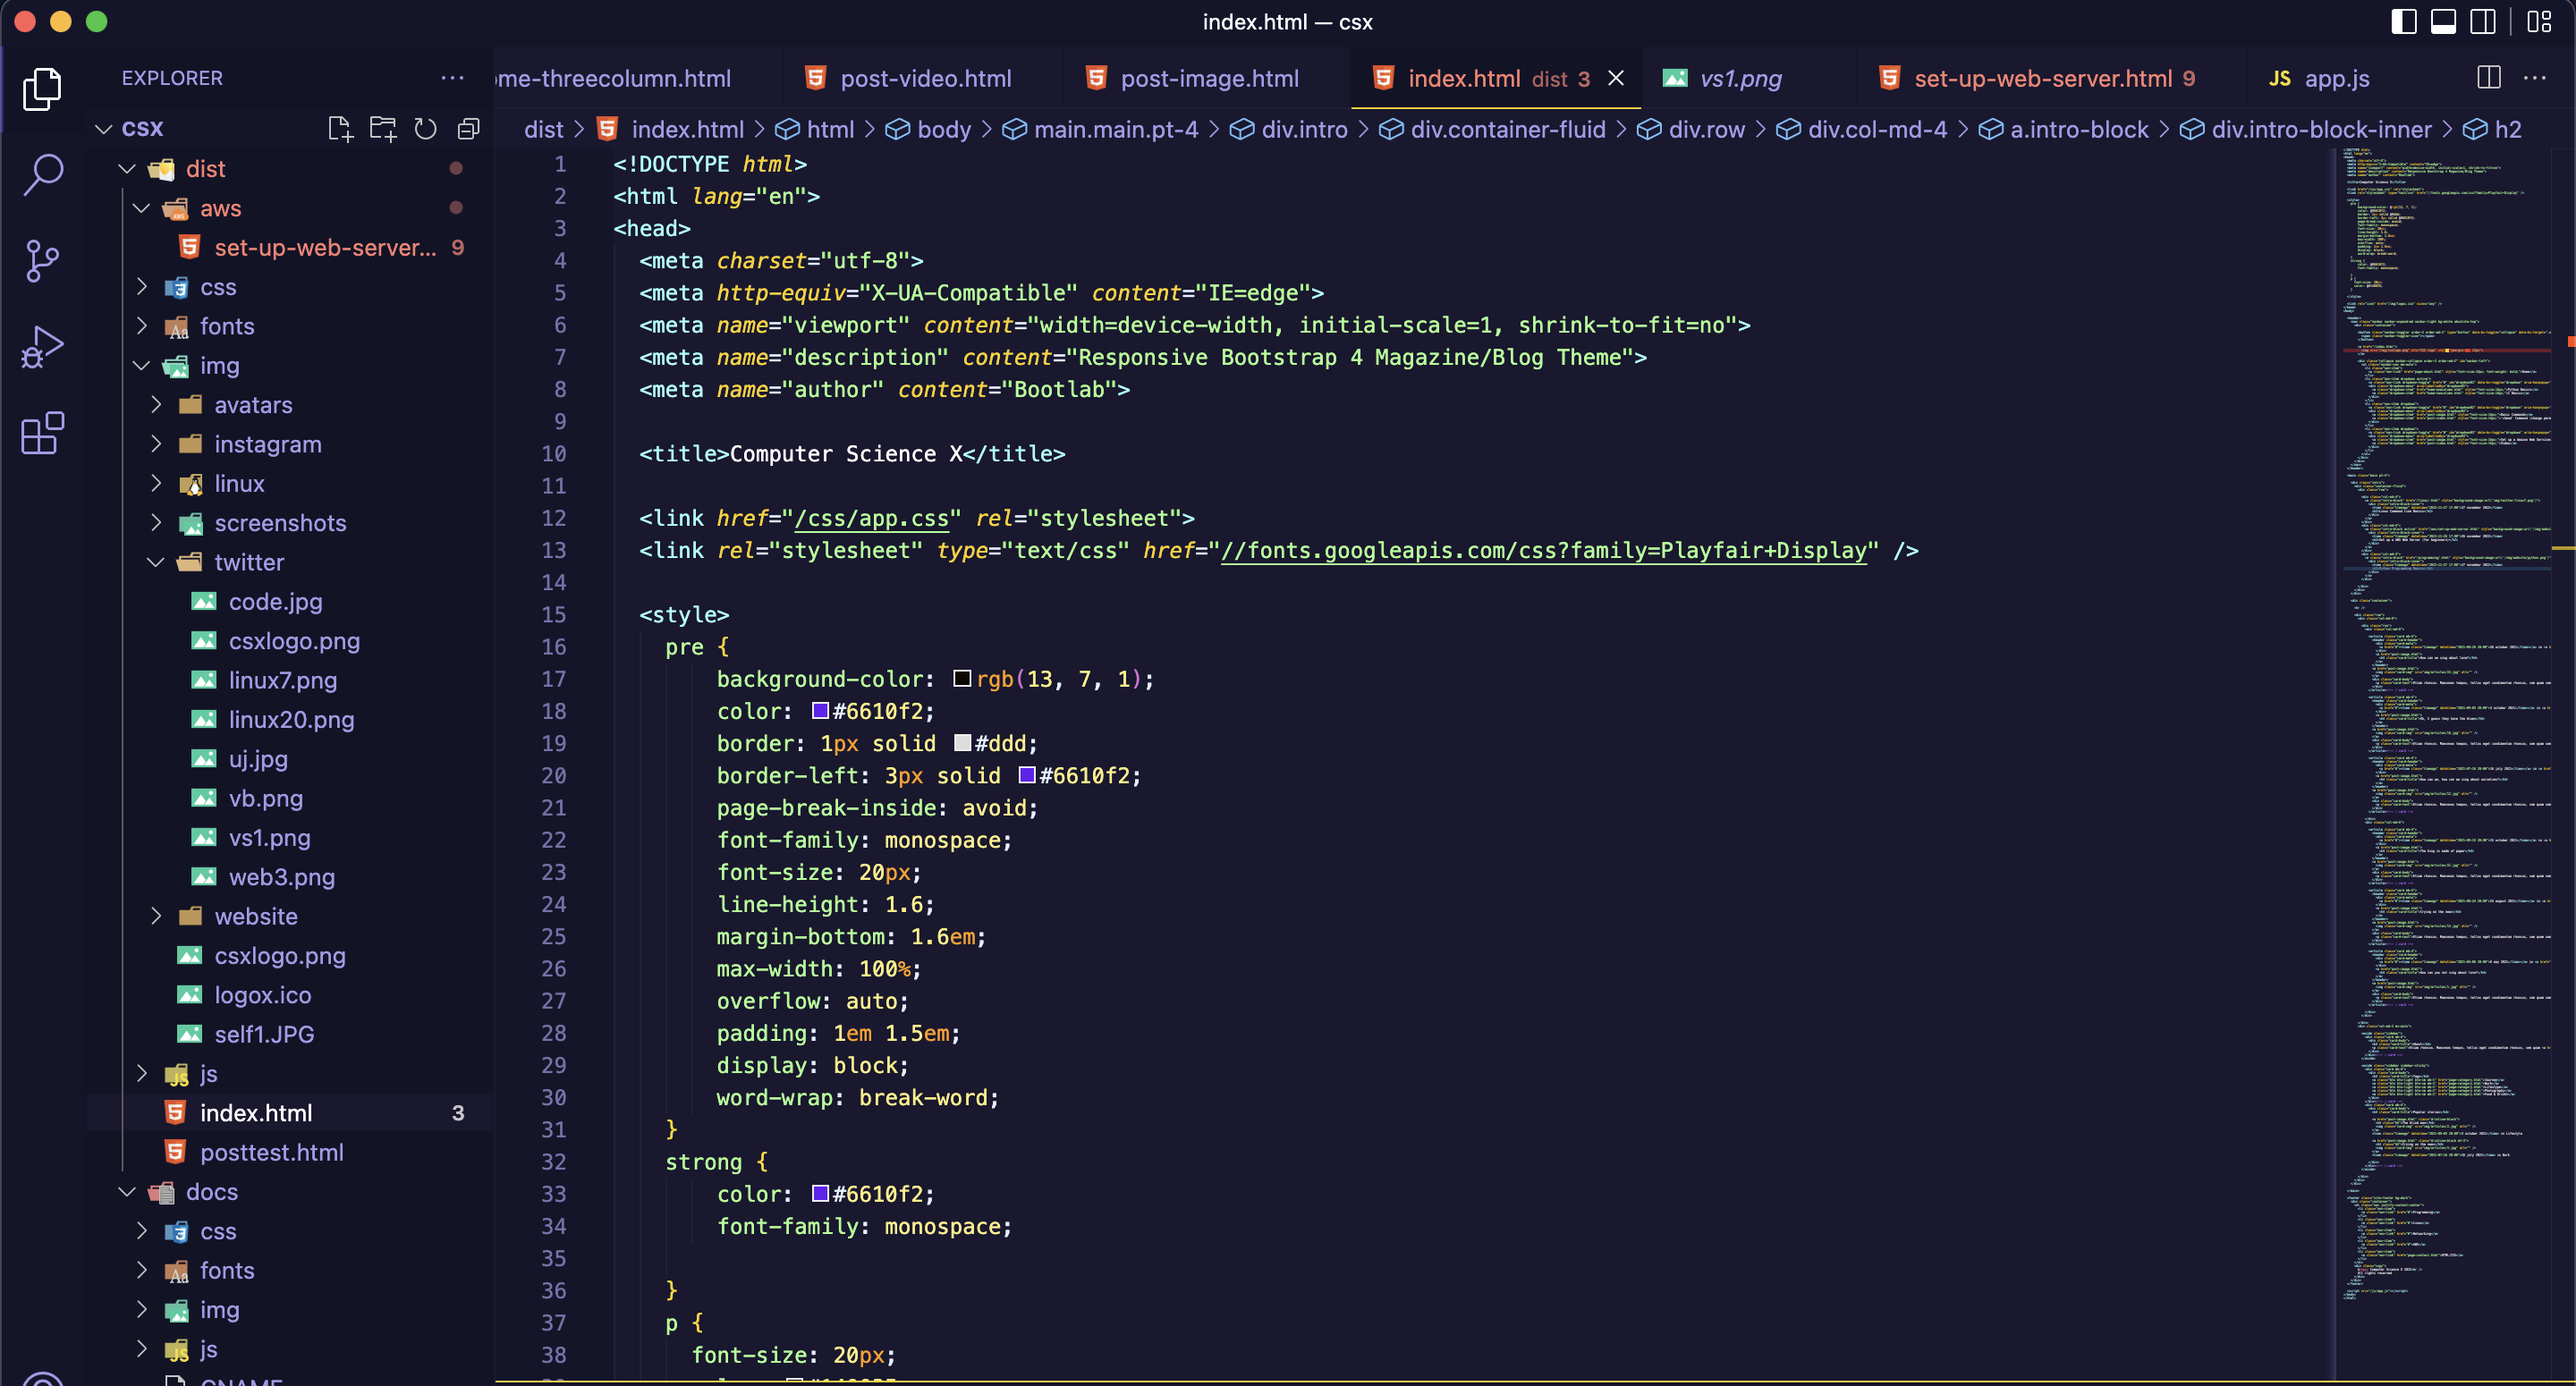
Visual Studio Code is probably the best code editor for web programming. very nice to use.
How to buy a domain name (CopmuterScienceX.com) and point that domain to our web server.
After you've bought your domain. you need to go to the DNS Management part for your domain.

You will need to edit or add to "A" record. and add your IP address for the static IP that was created for our AWS Lightsail web server from earlier like pictured above. and change the CNAME to your domain I think (ComputerScienceX.com). this should update the DNS records on go daddy. Updating the public DNS records basically means, when a user goes to your domain name (ComputerScienceX.com) it will basically be automatically redirected to your web server's IP address which will be hosting your website files to display to the user.
Cloudflare
provide free SSL, nameserver management, DDoS protection etc. for your domain. SSL is what changes your website from HTTP:// to HTTPS://, which basically makes it so that the data the user requests from the server (for example the HTML/CSS code) will be encrypted end to end. Meaning anyone sniffing your browser data or looking at it (ISP) it will be encrypted.