How to edit your Bootstrap 5 Dashly template's HTML code for Node.JS
So when you have purchased and downloaded your template, you will need to unzip/unpack the files. Then your folder structure should be something like this:
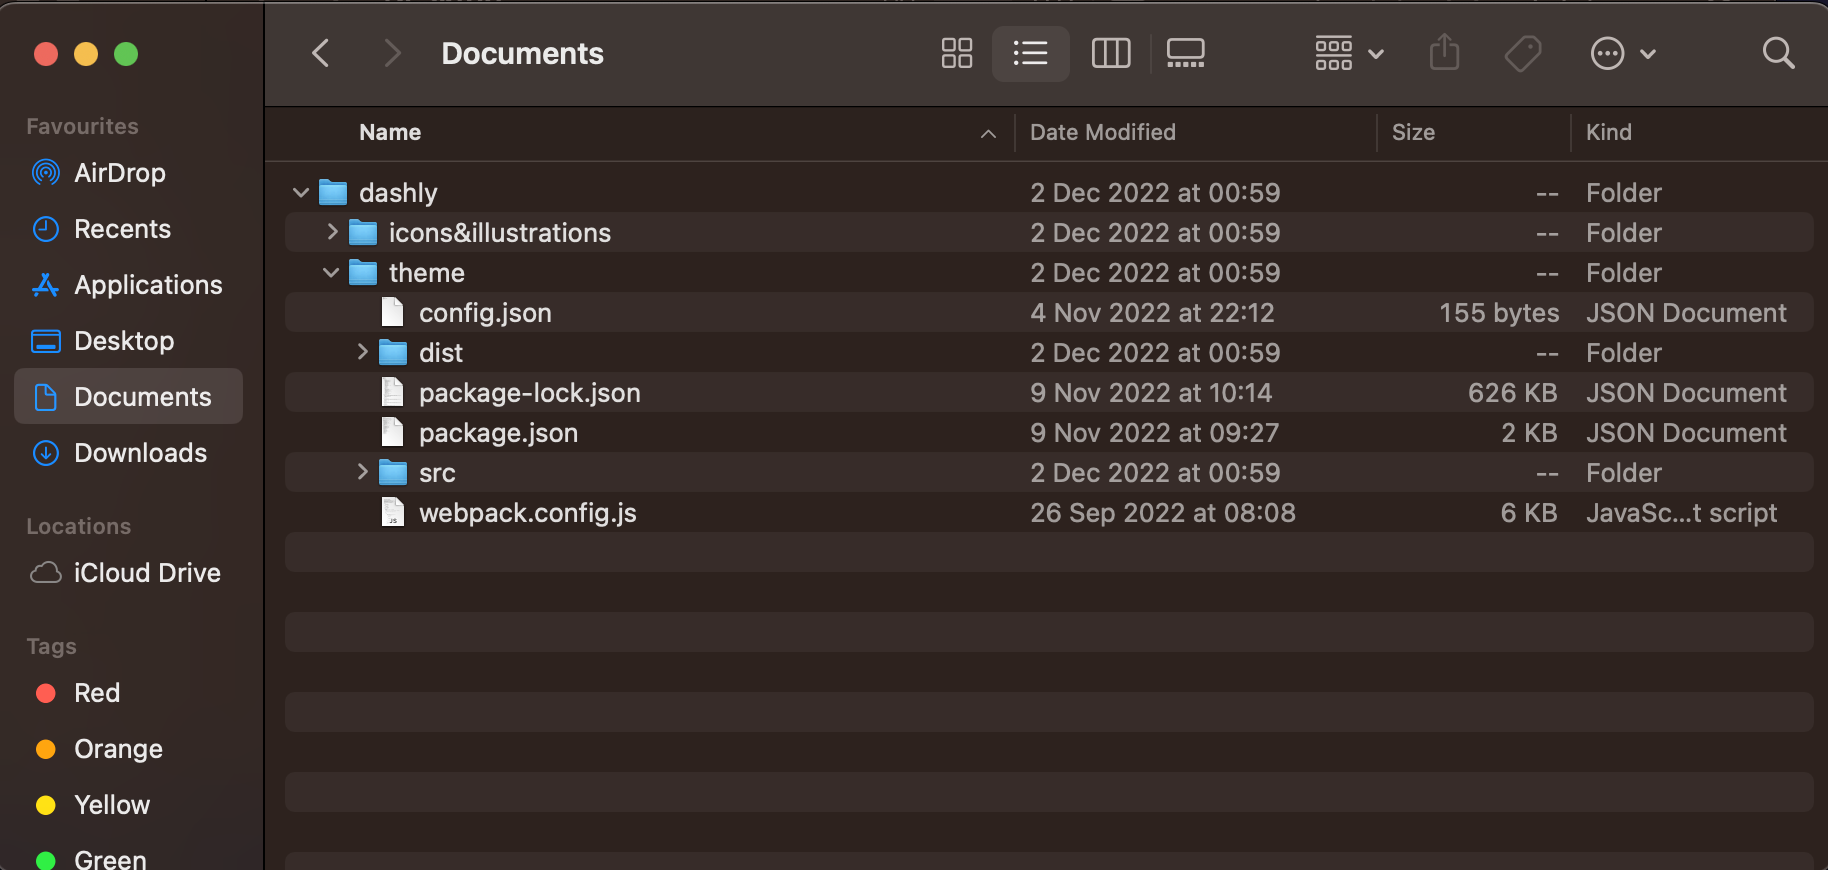
For this dashly template example. We will only be using the theme directory(folder) within the dashly directory. This theme folder holds all of our website files (HTML, CSS, Javascript etc.).
So the src folder inside the theme directory is where our website files and folders will be edited from.
So first thing I would do is go into the dashly/theme/src/html folder and create a new folder called templates. Then put all of the .html files into this folder.
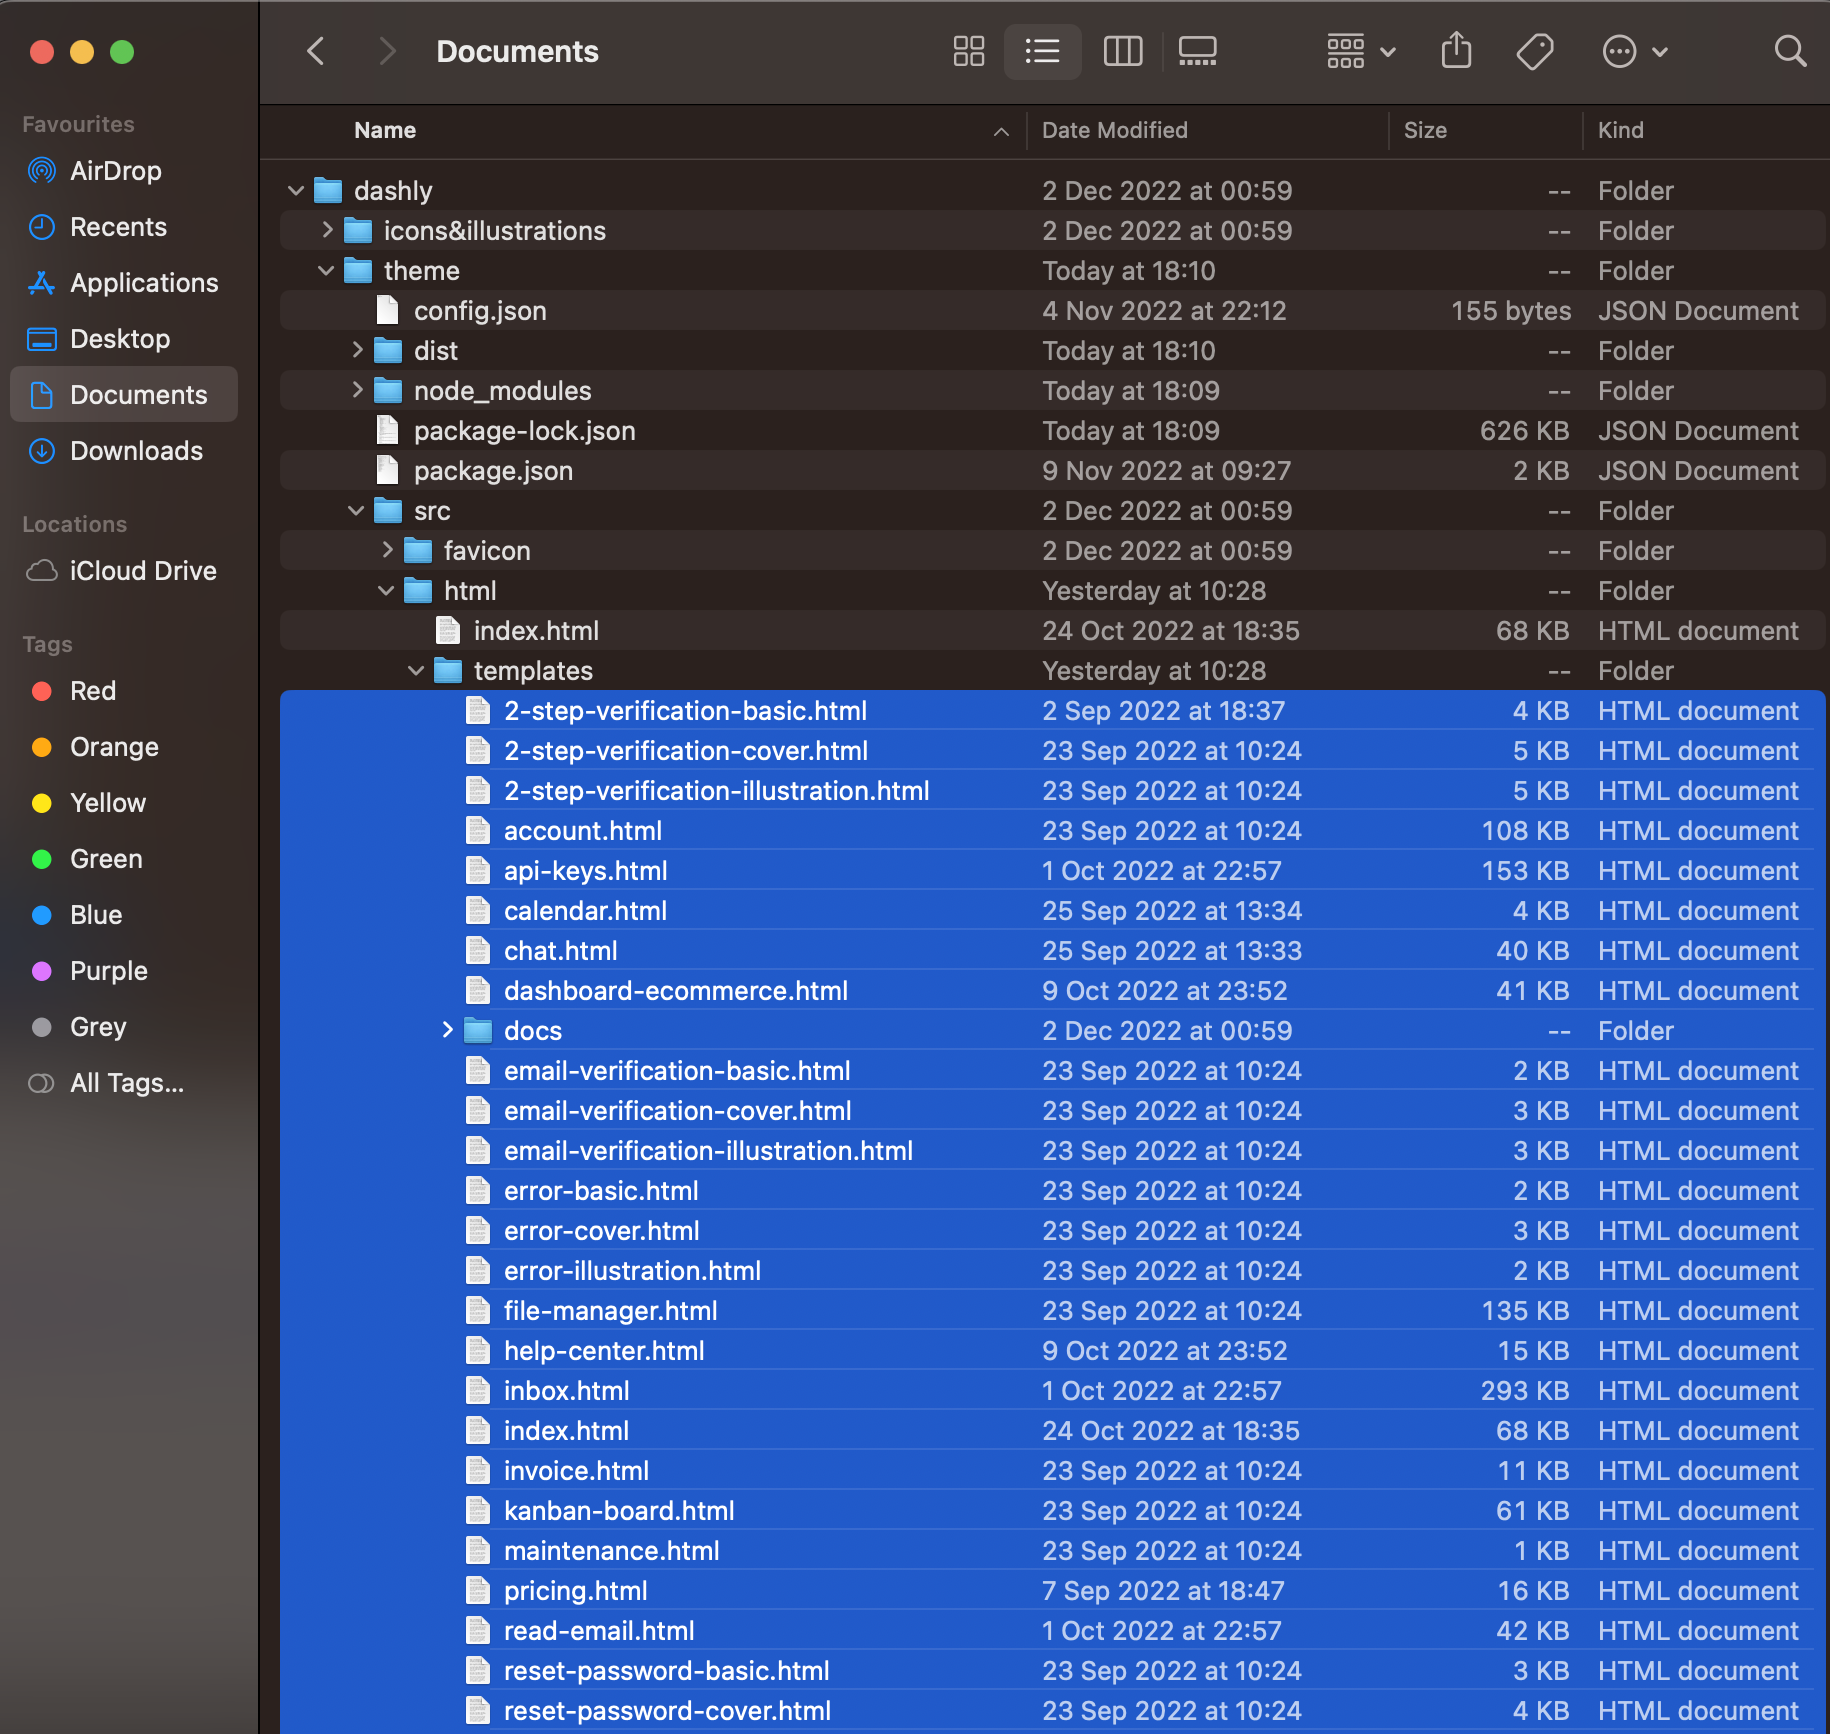
We can then take out the HTML files that we want to use (like shown below):

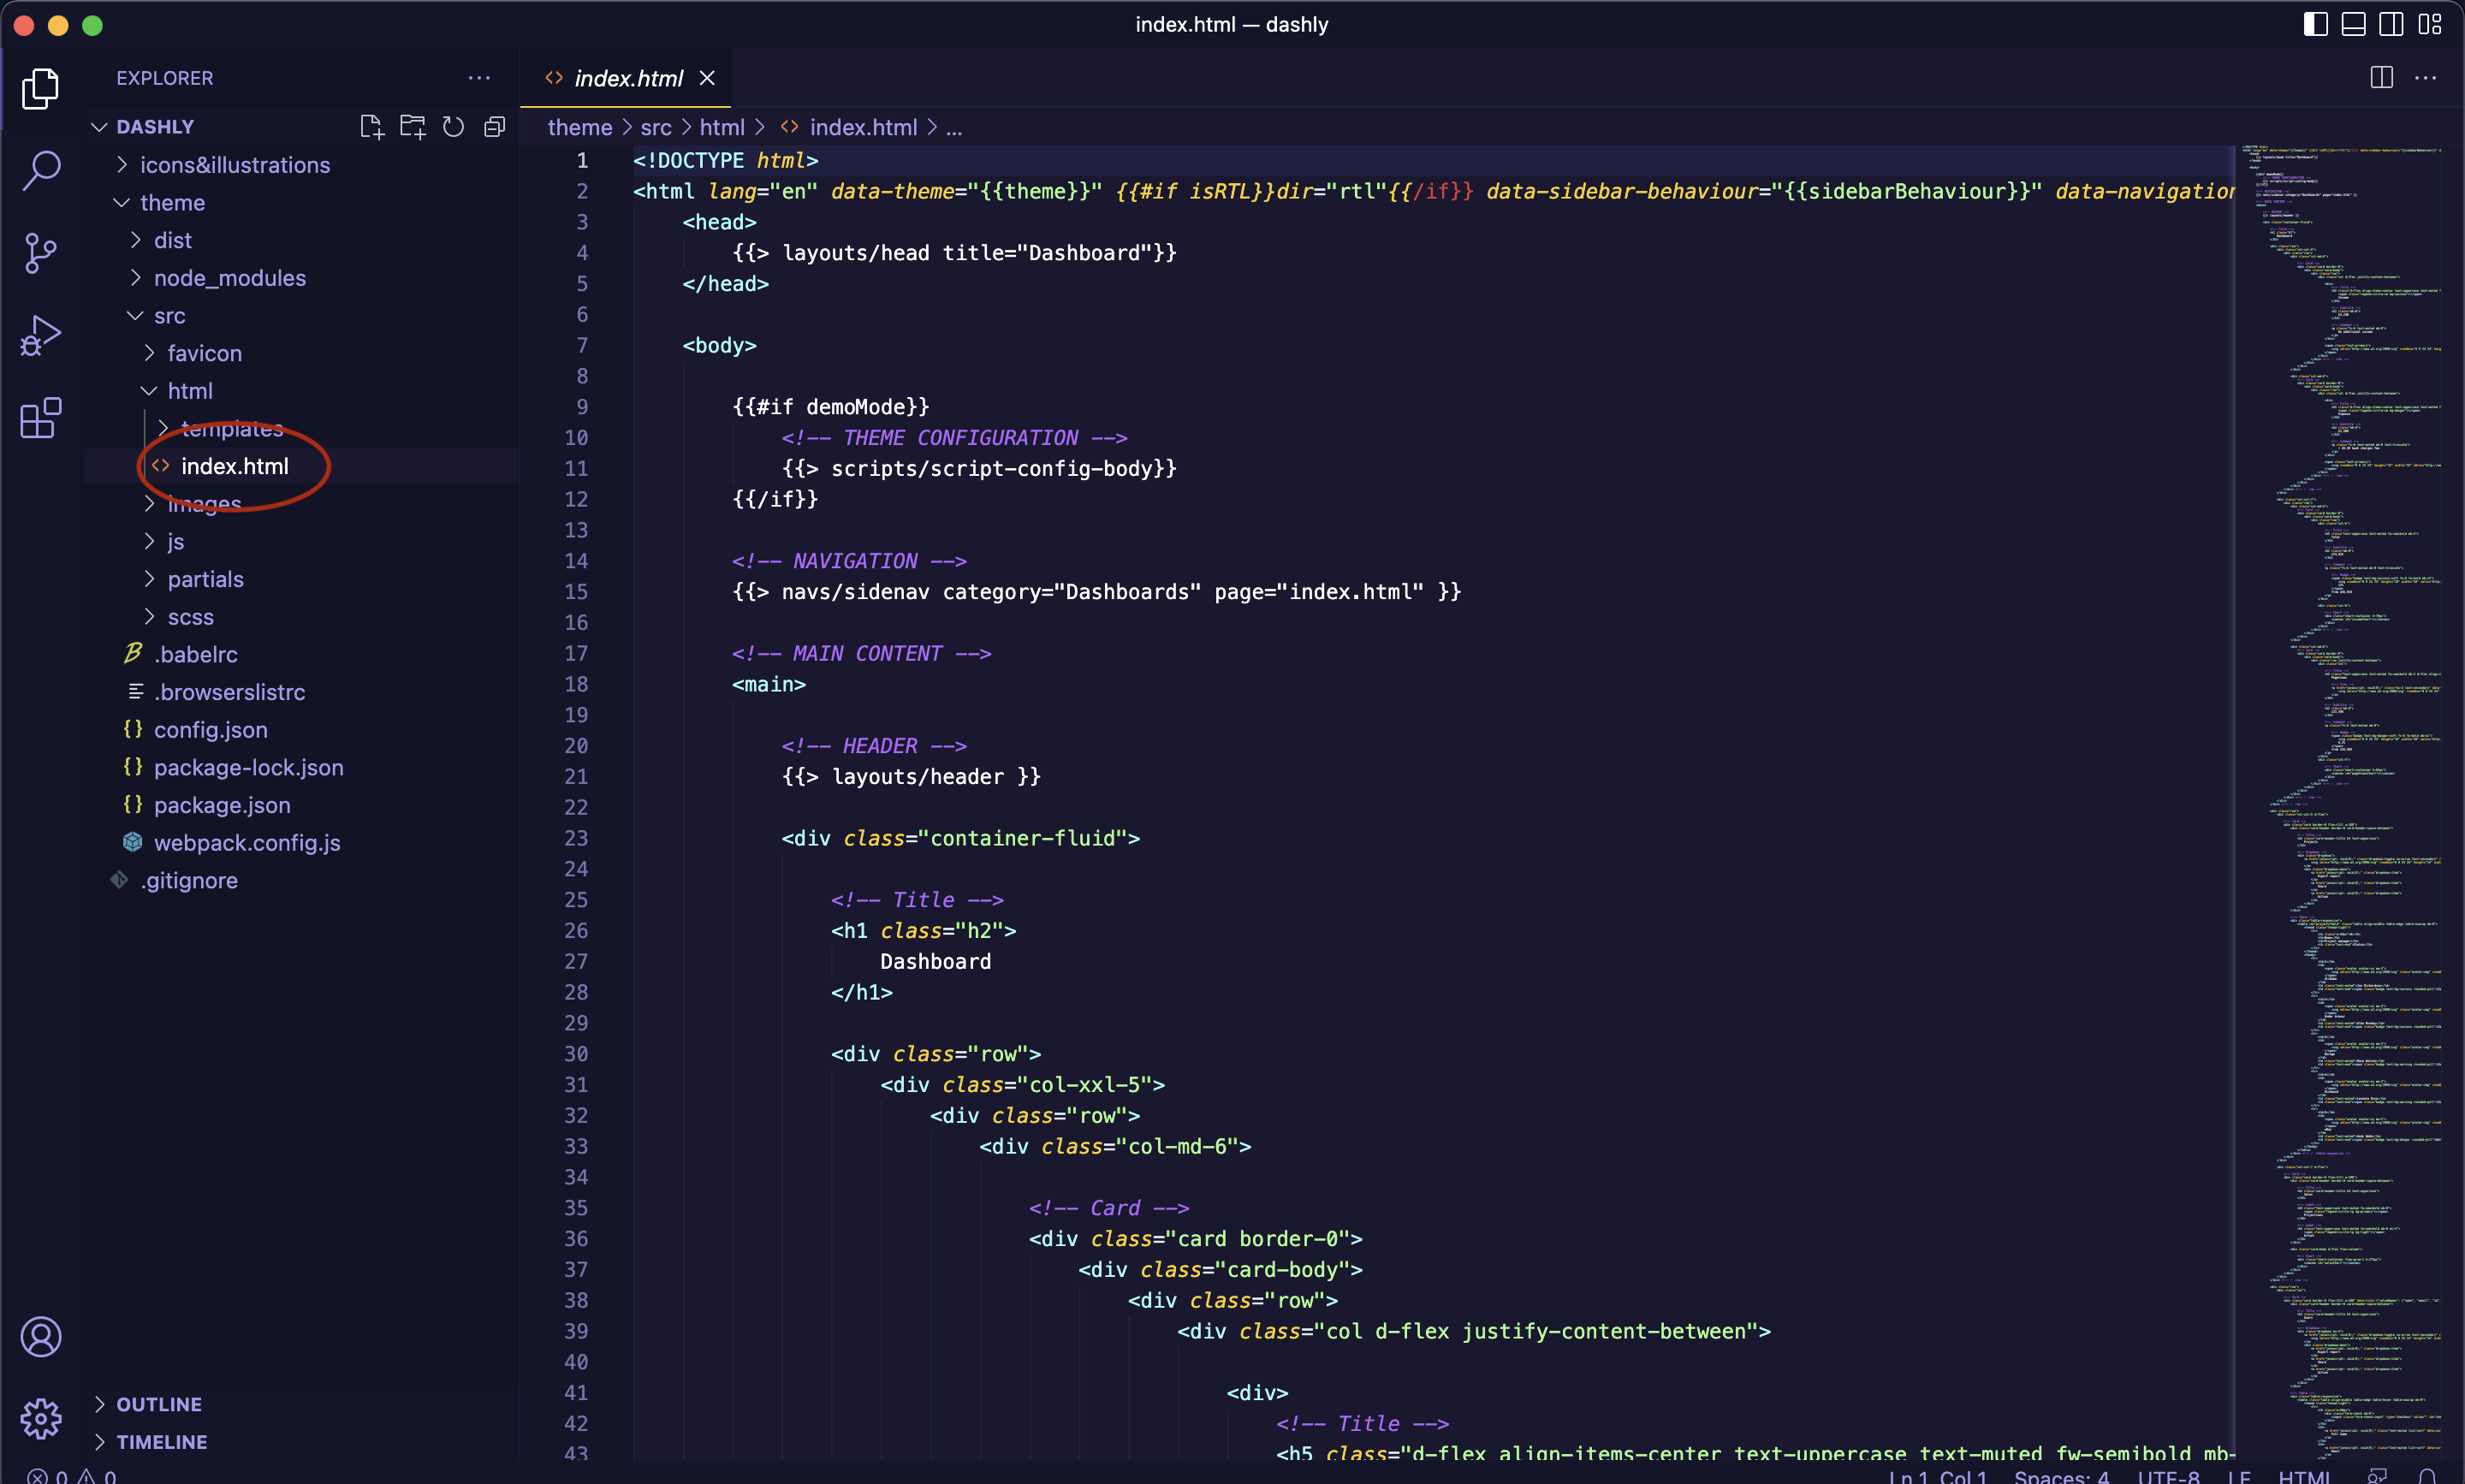
As you can see (circled in RED), I have taken the index.html page out of the templates folder that I created. We can now edit this page to our desire. I would recommend creating some of your own templates. For example, if you had a blog website. You could create a template specifically for blog posts and then just copy and paste the page when a new template is needed.
Now lets start off by editing the code of the sidenav.html partials file (if you dont know how HTML partials work Check out my expenation here)
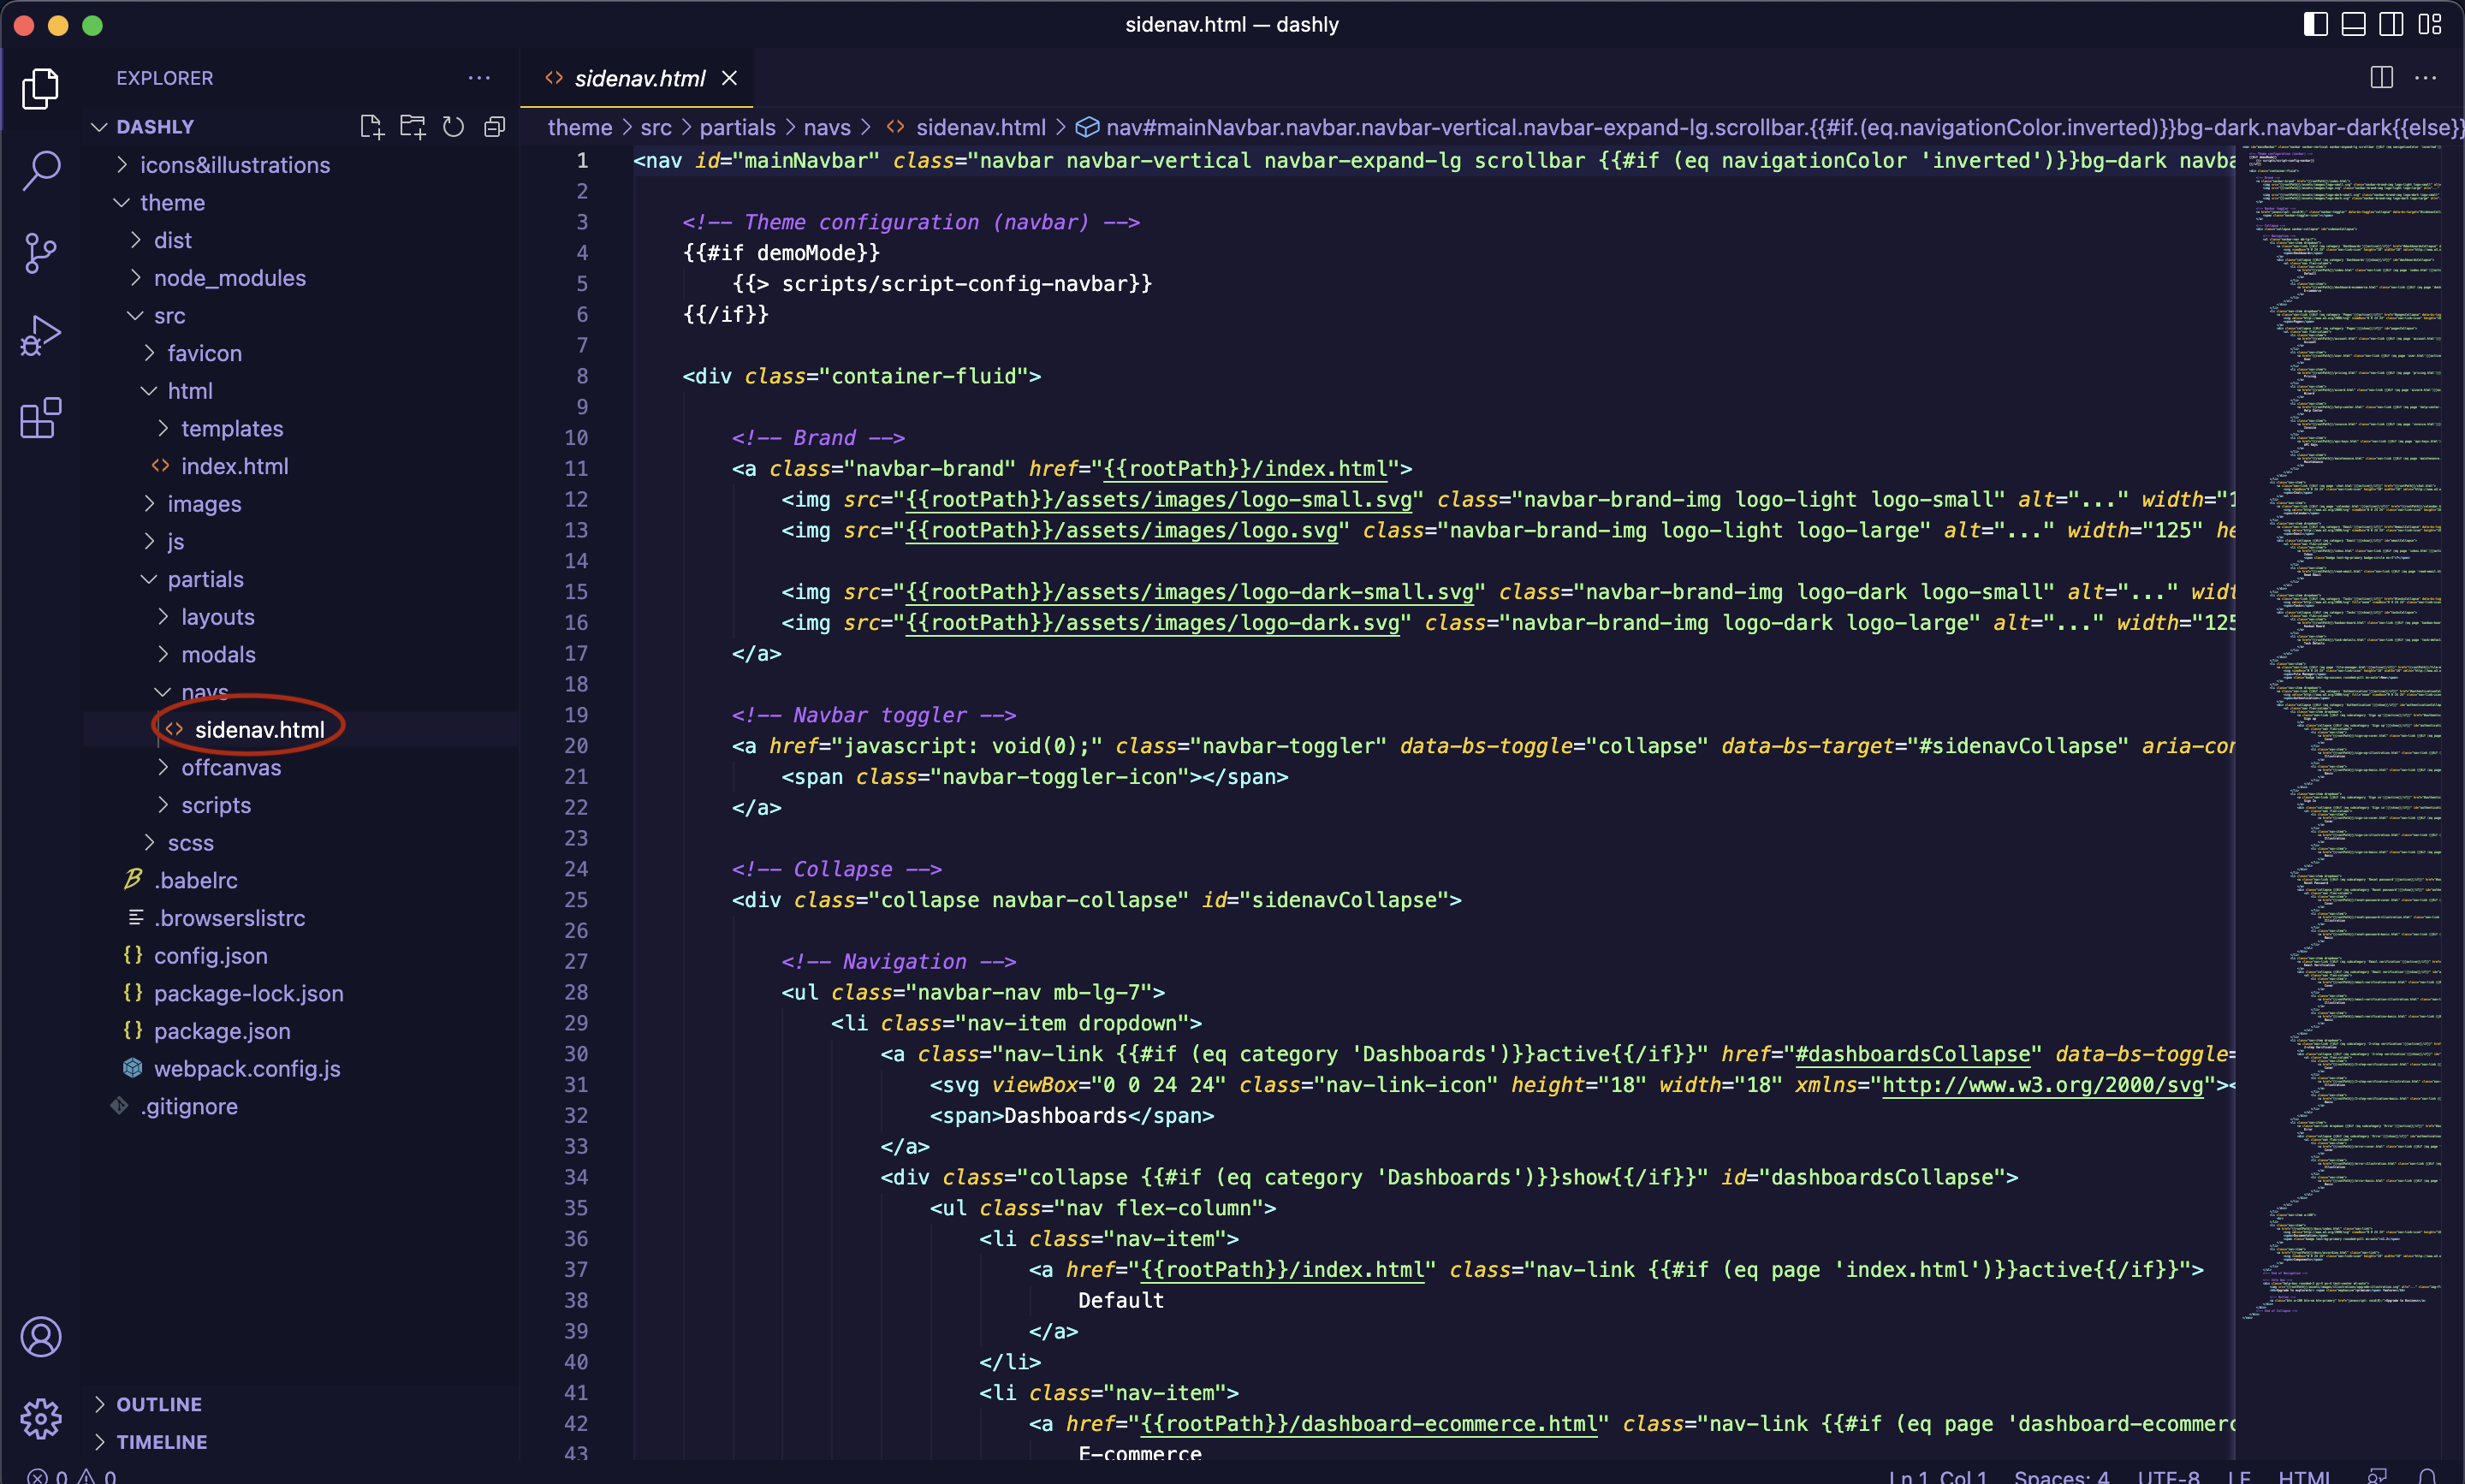
Editing this partials file, will change the code of the sidenav.
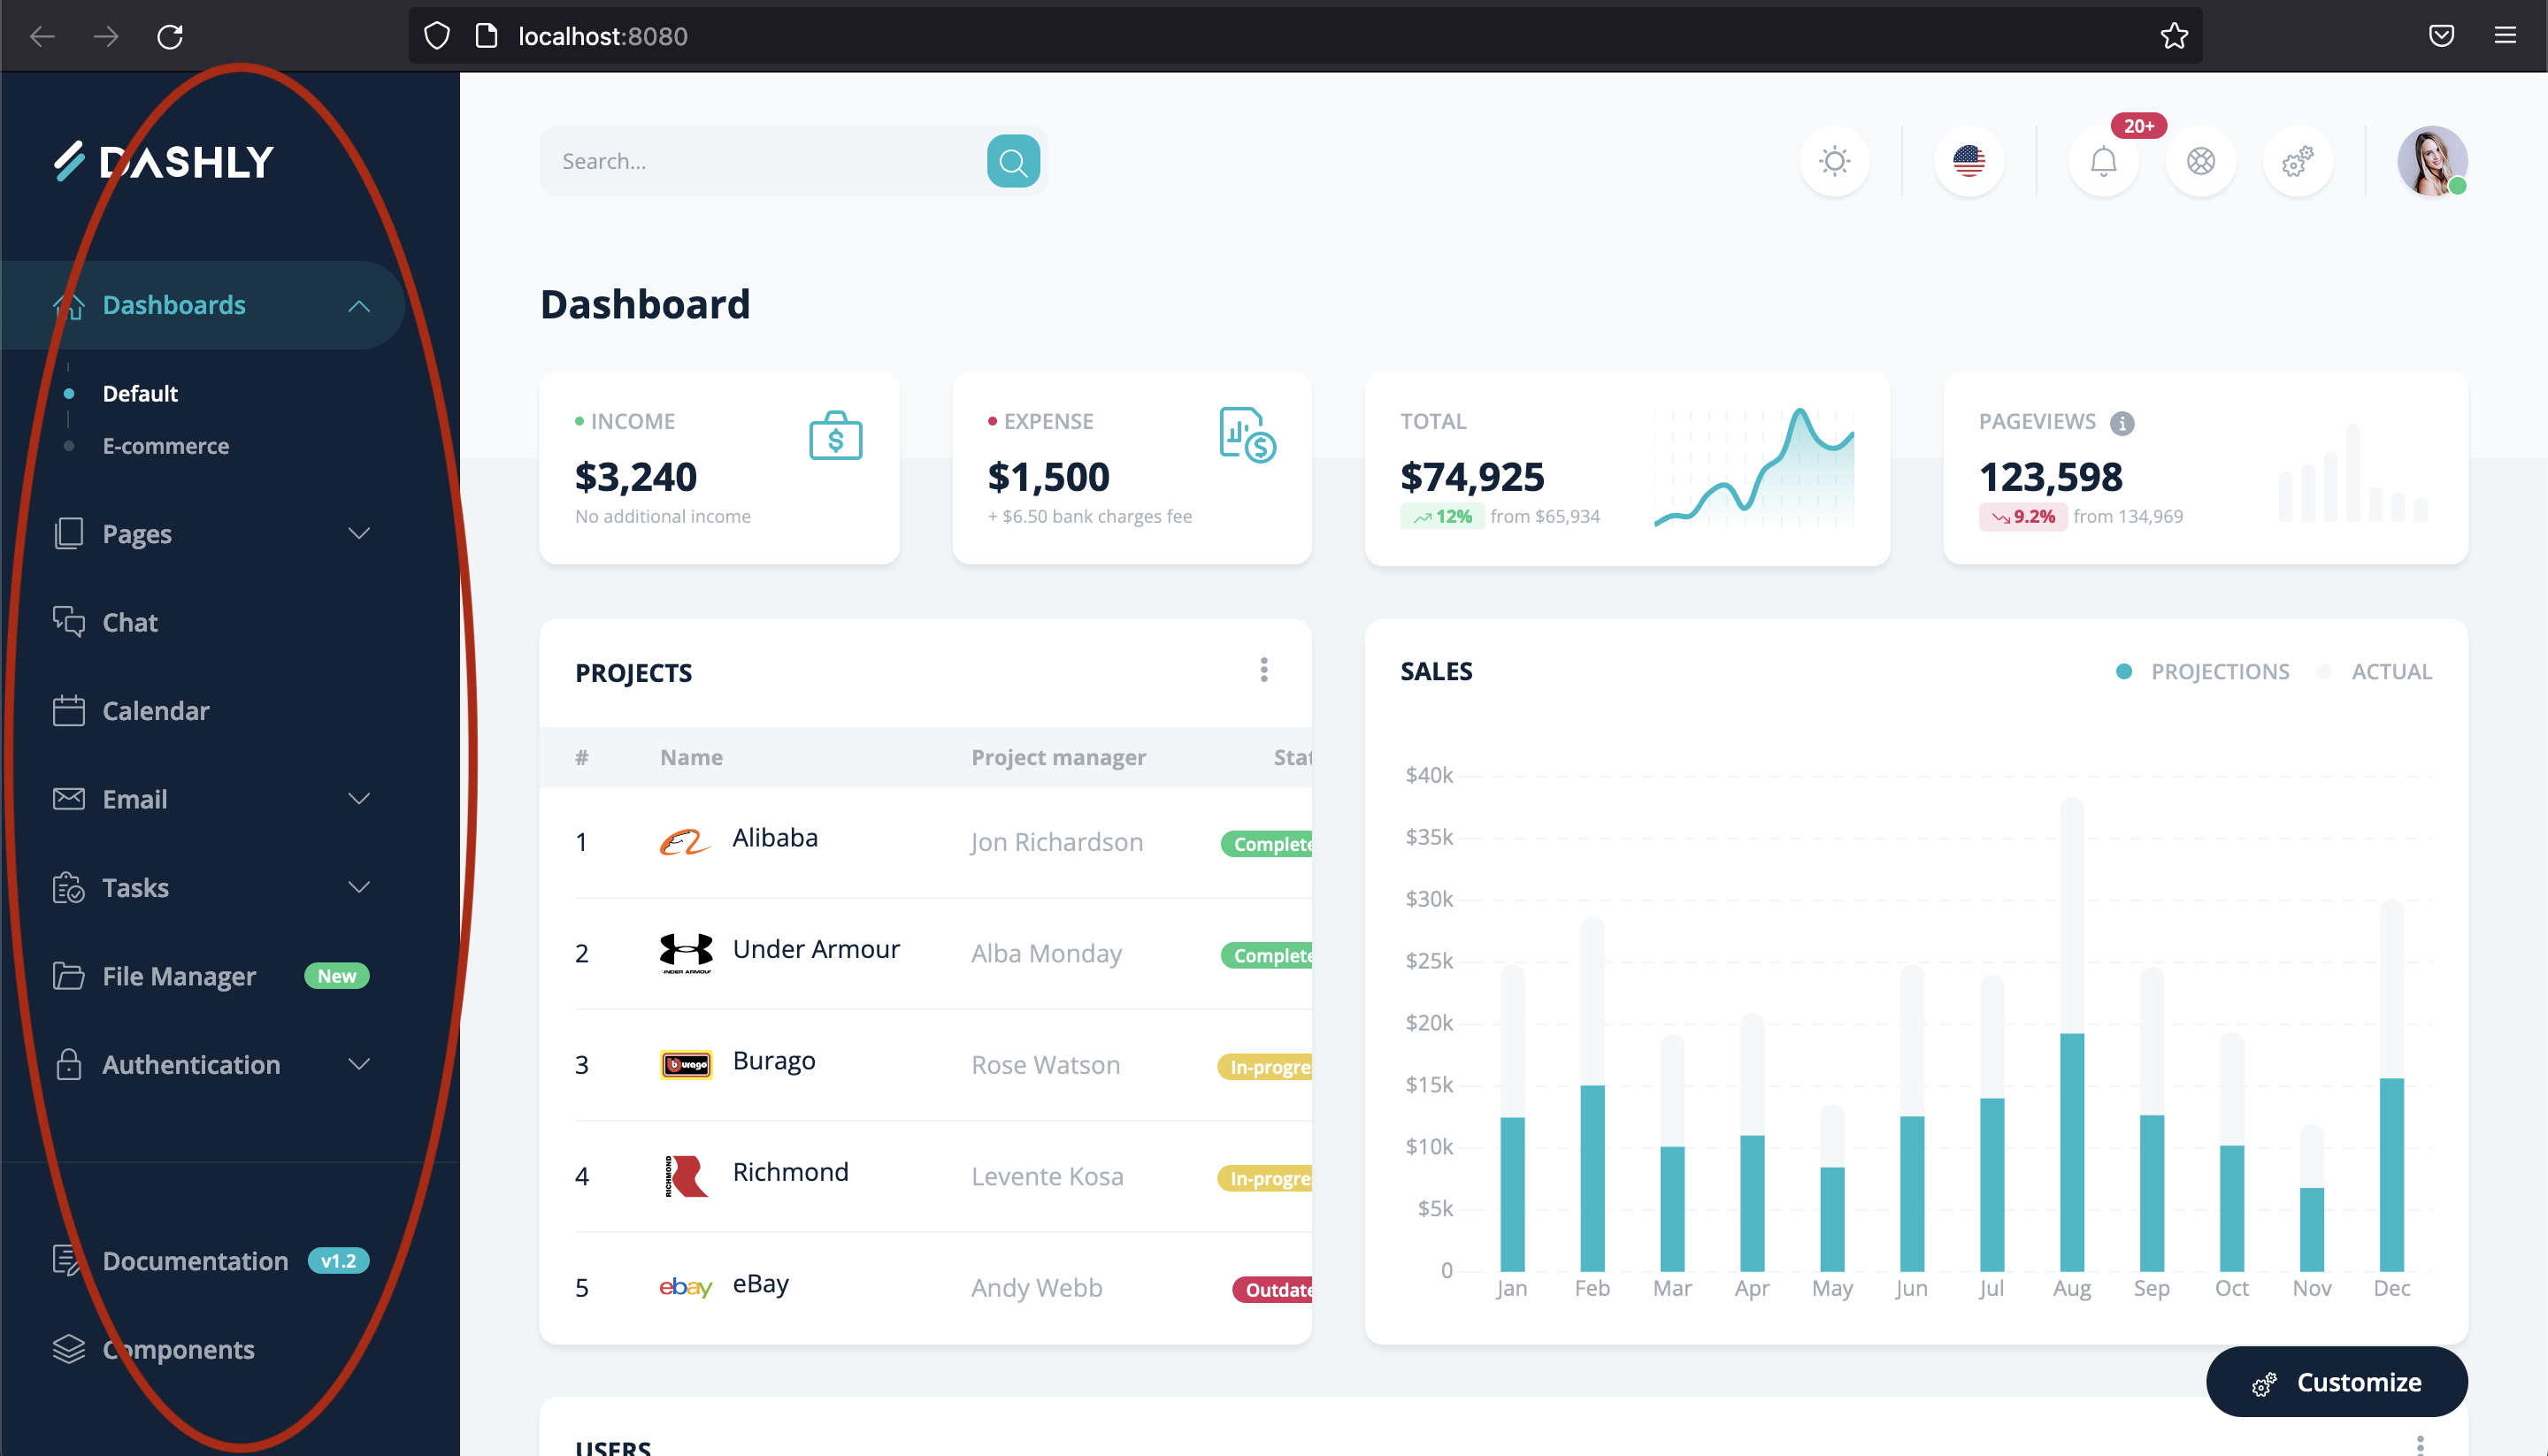
Here is what our template looks like at the moment. Circled in RED is the sidenav, that we are editing.
So, we want to have our own navigation items in this sidebar. We can basically delete all of these items. You will want to leave 1 or more of these items to use as a template for your own items.
As we can see in the screenshot above, the 'components' link is the last item on the sidebar. So lets go down to where 'components' is in our code and then we can delete up from there like shown below: Make sure not to delete any closing tags that is part of the structure of the sidenav.

We will be deleting a large portion of code from this point up till near the top. Remembering to leave 1 or more items as templates for our own links.

Lets drag our cursor up to the 'Pages' section, as this is them second to last item. Leaving the 'Dashboard' dropdown links as out template.


Lets also delete this section as its just an advertisment for a premium feature of this template.
Building our code and viewing our webpage through the command line
First go to your command prompt on Mac or Linux. Go to your dashly tempalates main directory(with the package.json file/s) Run the command:
cd ~/Documents/dashly/theme

As my dashly theme is in the ~/Documents directory ('~/' is shorcut for the home directory).
Now run the command:
npm run build
Note: if you dont have npm installed You can go here to find out how to install on your operating system

After the Build process is finished. It will have created a new folder in the theme (main) directory called 'dist'. The files in the dist fodler, will be the files that we will be sending to our web server for deployment.
So when we build our code. This basically adds all of our partials, Javscript, CSS etc. files automatically to our induvidual web pages. So when we want to change our sidenav. We can just go into the sidenav partials file in the 'src' directory. Edit the code just once, and then when we build our code. It will have automatically added our sidenav to each html web page. Basically just saving us from copy and pasting and editing each induvidual web page. Which is just time consuming and could also cause errors from missplacing code.

As you can see the build process is finished.
We can now run the command:
npm run start
This will then basically start our web server from the terminal and open up a window in your default browser displaying your web page from the 'dist' folder.
Note: if we keep this web page open and edit our html code in the dist directory. As soon as we save our file, it will automatically refresh our web page that we have running on 'localhost'. This is useful for editing our code live and not having to upload to the server everytime we want to view an edit of our code.

Running npm run start from the command line will then open up our web page like shown below:

Circled in RED is our sidenav code that we editied.

Next thing I would edit on your sidenav is the sections circled above. These names basically control the dropdown behaviour your sidenav links. Note: You will need to call these different names for each sidenav link item. As if they are called the same names, when you click on a dropdown item it will dropdown all of the sidenav links with that same name. Just find the 'id', 'href', that have the same name or same name with 'Collapse' added. And then change these values to your own unique name. Note: There is also a couple more values with the same name and value to the right (couldnt fit in the screenshot). Just make sure these all match for this specific dropdown item.

Now in our sidenav.html partials file. Add the path to the html pages required (circled in RED).
Add the name of the file for that page in the part cirled in BLUE. This is the html page it will be opening. This will basically make it so that when we view that page it will keep that dropdown link open and the link for the page will be highlighted (so we know which page we are viewing).

Now lets add an icon to this dropdown item. Bootstrap 5 Icons - You can get the svg code for Bootstrap 5 icons here.
Copy the svg code (circled in RED above), and paste it into your sidenav item like shown below:

Replace the code between the opening and closing svg tags for your own.
Then when we save and go back to our localhost server in our browser it should look something like this:

As you can see, its added our own icon (circled in RED).
You can chnage the size and stuff by just playing around with it and changing values and seeing what happens basically.